Turn On a PC Remotely Over Wi-Fi, Part 2: Using an AliExpress ESP32-S3 Board
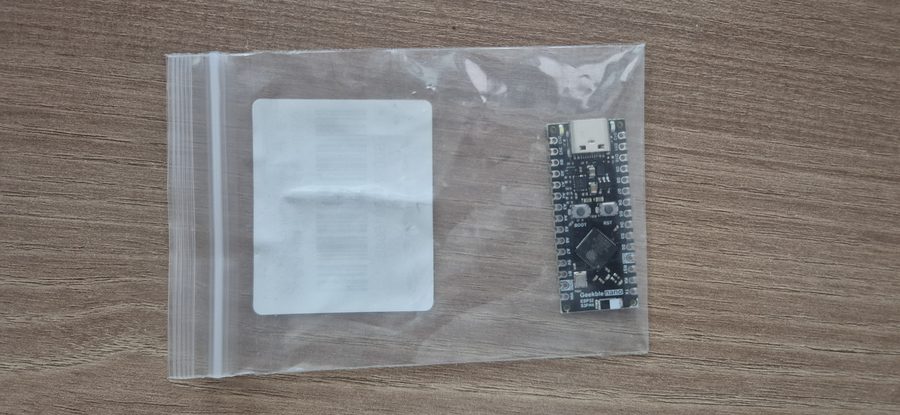
ESP32-S3 Project, Part 2 Waking a Desktop PC From Fully Shut Down Using an AliExpress ESP32-S3 Board Following up on Part 1 (Geekble Nano), here's how to remotely power on a desktop PC using a new ESP32-S3 dev board I picked up on AliExpress. The code is 100% identical to Part 1, but the board layout and BIOS setup are a bit different. ESP32-S3 AliExpress USB HID Wi-Fi Wake-on-LAN BIOS Setup Table of Contents Why a Second Board — MacBook vs. Desktop Chapter 1 — Unboxing the AliExpress ESP32-S3 Chapter 2 — Board Layout: Two USB Ports, Which One to Use Chapter 3 — Setup (100% Identical to Part 1) Chapter 4 — Waking From Fully Shut Down: BIOS Setup Chapter 5 — Installation: Wired Directly Inside the PC Case Chapter 6 — Real-World Results vs. Traditional WOL Introduction Why a Second Board — MacBook vs. Desktop Part 1 covered building a USB HID Wake-on-LAN alternative with a Geekble Nano ESP32-S3. An ESP32-S3 dev board I ordered from AliExpr...