I like to take notes on travel, and I am putting together various IT tips that I often forget during work.
2026년 7월 5일 일요일
Turn On a PC Remotely Over Wi-Fi, Part 2: Using an AliExpress ESP32-S3 Board
ESP32-S3 Project, Part 2
Waking a Desktop PC From Fully Shut Down Using an AliExpress ESP32-S3 Board
Following up on Part 1 (Geekble Nano), here's how to remotely power on a desktop PC using a new ESP32-S3 dev board I picked up on AliExpress. The code is 100% identical to Part 1, but the board layout and BIOS setup are a bit different.
Part 1 covered building a USB HID Wake-on-LAN alternative with a Geekble Nano ESP32-S3.
An ESP32-S3 dev board I ordered from AliExpress arrived today, so I set up a second one specifically for my desktop PC.
Why split them by use case: when a MacBook is fully shut down, USB power gets cut entirely, so an ESP32 can only wake it from sleep.
Most desktop motherboards, on the other hand, let you power on from a full shutdown using just a keystroke, via a BIOS setting. So I've dedicated one board to the MacBook (Part 1, Geekble Nano) and a second board to the desktop (Part 2, this AliExpress board).
Possibly because it's a physically larger board, this AliExpress ESP32-S3 also felt like it held a more stable Wi-Fi connection than the mini board from Part 1.
Chapter 1
Unboxing the AliExpress ESP32-S3
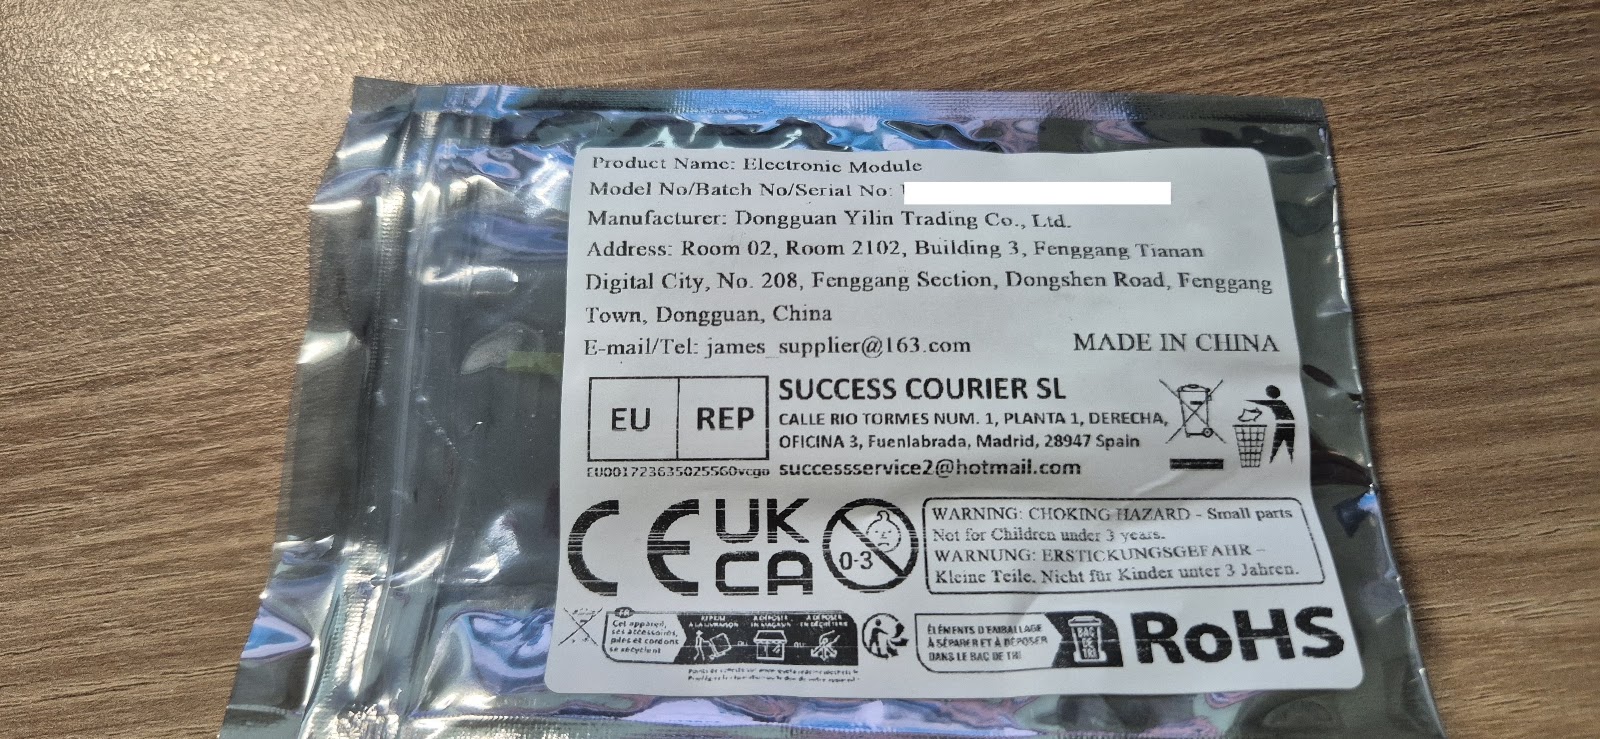
I bought this on AliExpress for about $5–6 USD (7,500 KRW), with free shipping. It's cheaper than the Geekble Nano from Part 1, and physically larger too.
▲ The AliExpress packaging label — listed as an "Electronic Module," Made in China
▲ Board, front side — two USB-C ports, BOOT/RST buttons, an onboard RGB LED
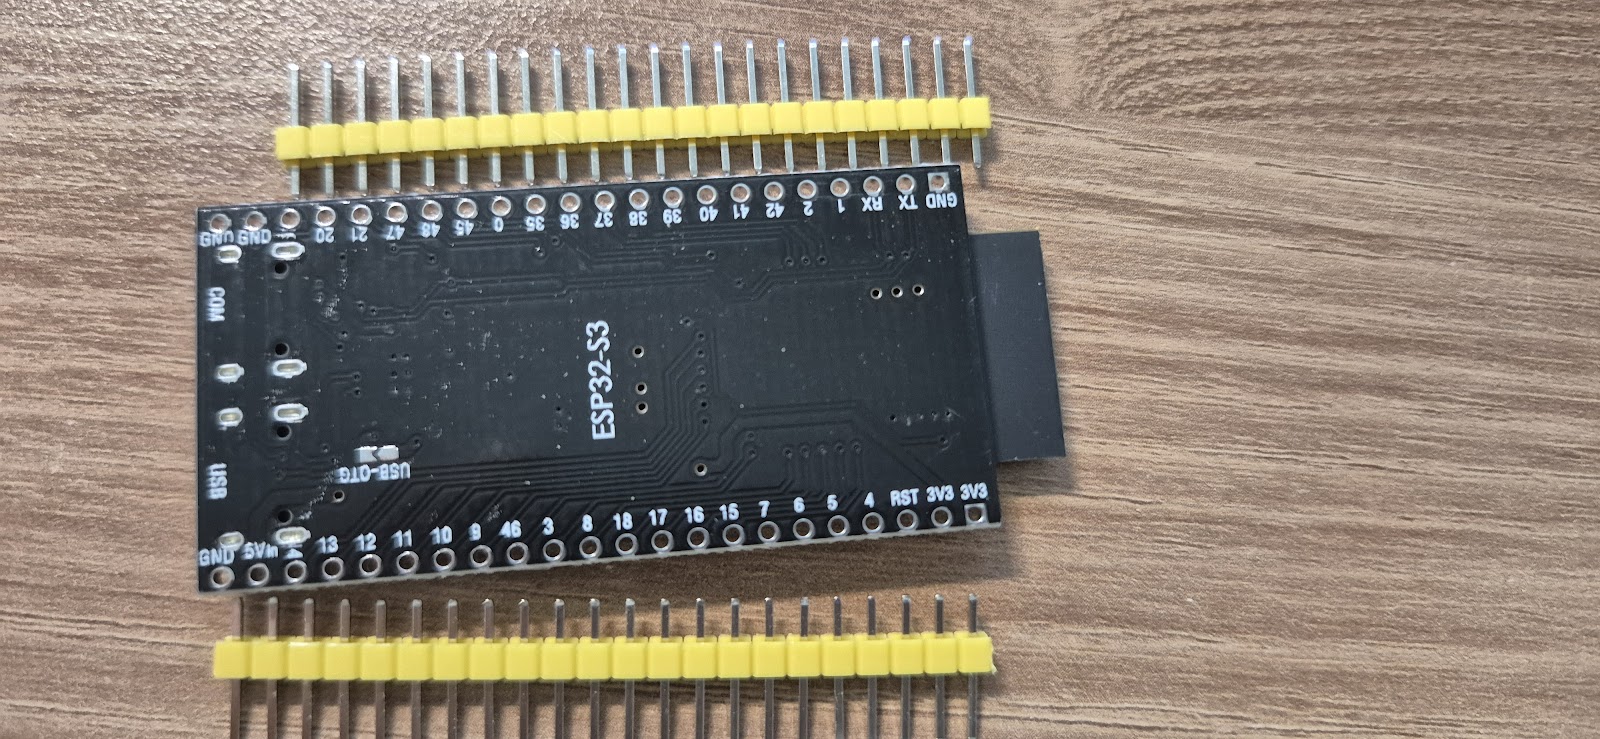
▲ Board, back side — silkscreened "ESP32-S3," with the two ports labeled USB and USB-OTG respectively
The package contents are simple — just the board itself and two rows of pin headers, no other accessories.
Chapter 2
Board Layout: Two USB Ports, Which One to Use
This board's proper module name is ESP32-S3-WROOM-1 N16R8 (16MB flash / 8MB PSRAM — more headroom than the Geekble Nano from Part 1). The wiring diagram from the AliExpress listing makes the key components easy to identify at a glance.
▲ Hardware diagram provided on the AliExpress listing page
Item
Detail
Module
ESP32-S3-WROOM-1 N16R8 (16MB Flash / 8MB PSRAM)
USB-Serial chip
CH343P
RGB LED
WS2812
Port A
USB to Serial (Type-C) — for firmware upload and Serial Monitor
Port B
ESP32-S3 Type-C USB & OTG — for acting as a USB HID keyboard
The key thing to know: this board has two USB-C ports. One goes through the CH343P chip as a "USB to Serial" port (for uploading code and debugging); the other connects directly to the ESP32-S3 chip as a "USB & OTG" port.
Just like in Part 1, you must connect to the PC through the "USB & OTG" port for it to work as a USB HID keyboard. Connecting via the Serial port won't get it recognized as a keyboard.
When uploading firmware, do the opposite: connect the Serial port (CH343P) to your PC and upload from Arduino IDE. Once the upload is done, switch the connection over to the OTG port for actual use.
Chapter 3
Setup (100% Identical to Part 1)
Installing Arduino IDE, adding the ESP32 Board Package, the USB CDC On Boot setting, implementing a USB HID Keyboard, connecting to Wi-Fi, implementing the /wake API — the entire setup process and code are completely identical to
the Part 1 post.
As long as you select the same ESP32S3 Dev Module in the Board Package screen, the code from Part 1 runs 100% as-is, with no changes needed.
Reconfirmed: as long as it's in the ESP32-S3 family, the USB HID + Wi-Fi code ports over directly regardless of manufacturer — whether it's a Geekble Nano or, as here, a generic AliExpress dev board.
What differs board to board is really just USB port placement and the GPIO pinout; the software logic stays the same.
If you haven't seen the code yet, grab it directly from the WakeKey32_final_public.ino download link at the bottom of the Part 1 post — just swap in your own Wi-Fi SSID/password and upload.
Chapter 4
Waking From Fully Shut Down: BIOS Setup
Unlike a MacBook, most desktop motherboards keep standby power flowing to USB ports even when fully shut down. So enabling "power on via USB keyboard" in the BIOS lets the ESP32's Shift keypress power the PC on from a full shutdown, not just from sleep.
On my ASRock motherboard, the setting is found here:
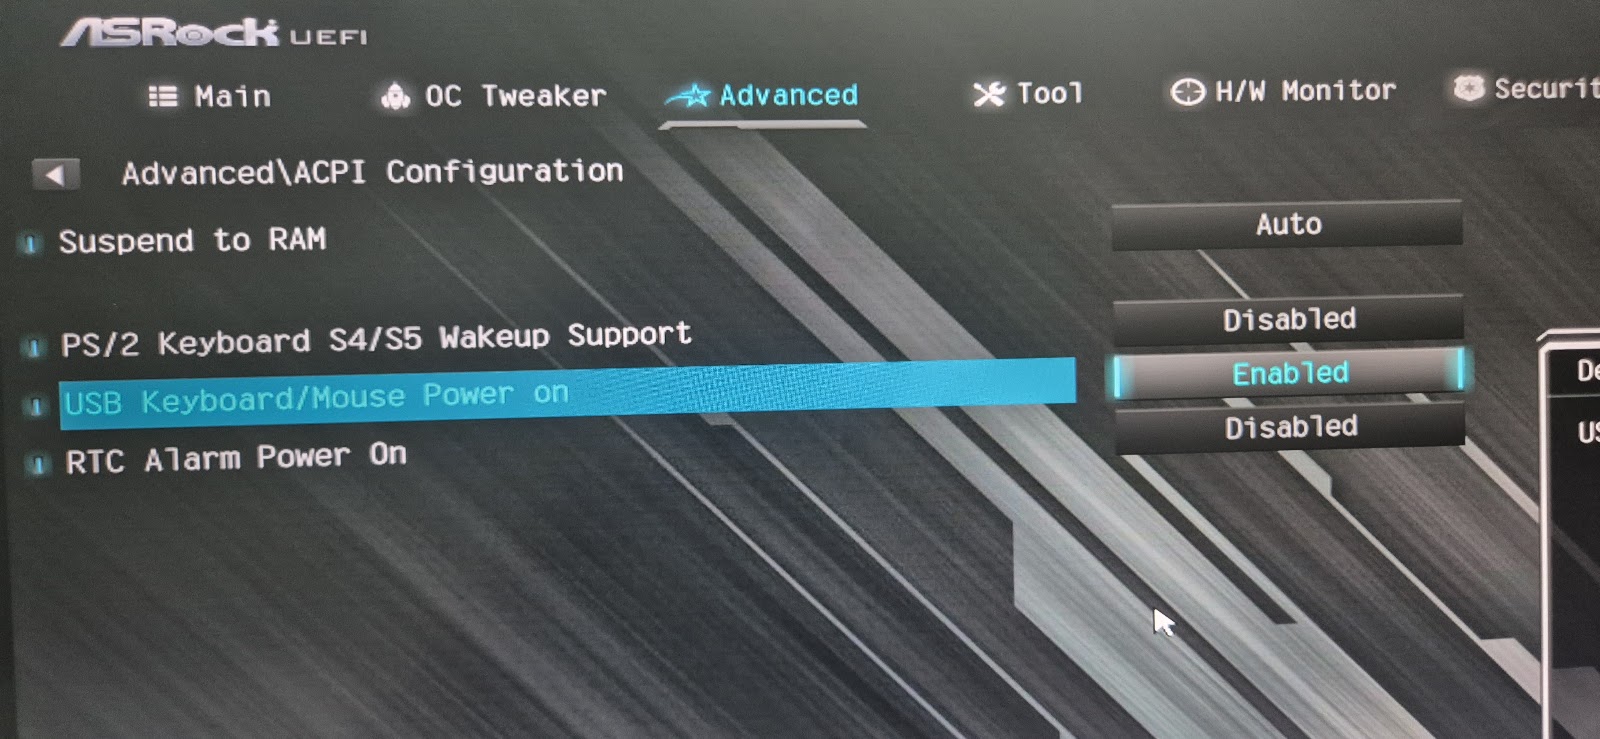
Enter the UEFI setup screen → Advanced → ACPI Configuration → USB Keyboard/Mouse Power on → Enabled
▲ ASRock UEFI → Advanced → ACPI Configuration → USB Keyboard/Mouse Power on → Enabled
Menu names vary by manufacturer. ASUS, MSI, Gigabyte and others often have a similar option under a different name, like "Power On by USB Keyboard/Mouse," or it may hinge on disabling "ErP Ready."
Searching your motherboard manual for "USB Keyboard Power On" or "Wake on USB" is a good bet.
Note: on some motherboards this option only works from sleep (S3) and not from a full shutdown (S4/S5).
Even in that case, waking from sleep still works exactly as in Part 1 — so relying on sleep mode instead of a full shutdown is a reasonable fallback.
Chapter 5
Installation: Wired Directly Inside the PC Case
Part 1 already established that unstable power can cause current spikes during Wi-Fi transmission to drop USB recognition, so here too I wired the board directly into a motherboard USB header and left it permanently installed inside the case.
▲ Wired directly to a motherboard USB header (rear panel) for stable, always-on power
Connect it to a USB port that stays powered even with the case closed, and you can just leave it alone from then on — no maintenance needed.
Chapter 6
Real-World Results vs. Traditional WOL
After running both boards for a while, this setup has been far more reliable than traditional wired-LAN Wake-on-LAN. I tested two scenarios.
Scenario
Result
Power on from a full shutdown
Works reliably (after the BIOS setting)
Wake from sleep
Works reliably
The limits of traditional wired-LAN WOL: Magic Packets would occasionally just get dropped or silently fail, and waking from sleep in particular often just didn't happen.
On top of that, using WOL remotely requires knowing the target PC's MAC address, and delivering the Magic Packet itself is difficult unless you're on the same network — which made remote use practically infeasible.
The advantage of the ESP32 USB HID approach: no need to worry about MAC addresses or being on the same network — just send a single HTTP request to the IP of whichever PC the ESP32 is attached to (or through router port forwarding).
It's far more reliable, and the setup is far simpler too.
For now, the setup I'm happiest with is: one board dedicated to the MacBook for waking from sleep, and one board on the desktop handling both full-shutdown power-on and sleep-wake — both left permanently connected.


댓글 없음:
댓글 쓰기